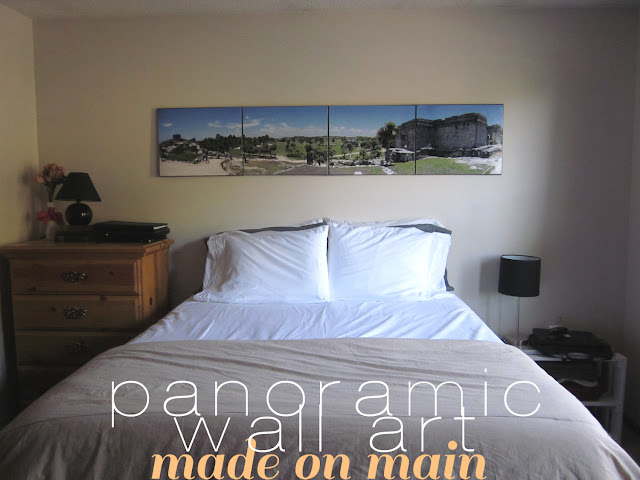
1A) Capture your panoramic image. If your camera doesn't take panoramas automatically, take a series of 4+ pictures from the same exact spot, overlapping each image a little bit.
1B) Use photo software to merge your photos. I have Photoshop so I used the photomerge function, but here's another tutorial I found with software that may already be on many of your computers.
2) Buy canvases to hang your photos. I chose 16" x 20" because they come in really affordable multi-packs from Michael's.
3) Trim your panorama to match the dimensions of your canvas. We wanted to use four canvases in a landscape orientation, so I cropped the overall image to 16" high x 80" long. Chop your picture into units to fit each canvas (for me this meant creating four images that were each 16"x20"- see the images below).
4) Print your images on photo paper. Costco has pretty good print prices so I used them.
5) Prep your canvas. I chose to paint each canvas black around the edges, then I rubbed a silver paint roughly over the edges to create an industrial, rugged look.
6) Adhere prints. I glued each print down to a canvas, then mod podged the heck out of each print. I wanted to make sure the prints and canvas acted as one solid object, and I wanted to give those prints some longevity and ability to weather a long time.
7) Hang prints. I chose to hang the prints immediately touching so they would read as one image, but it might look good to put some spacing between each.
Anyone else interested in giving this a try?


No comments:
Post a Comment
Well aren't you a cool kid. Thanks for dropping me a line!