Showing posts with label Paint. Show all posts

3.16.2012

How to Throw a Winter Party | Decorations!

This week I've been sharing how I put together a "Cozy Winter Social". It was a perfectly fun way to distract myself while my husband was out of town. If you want to see the other stages of putting the party together, check out my posts from the rest of this week!

This week I've been sharing how I put together a "Cozy Winter Social". It was a perfectly fun way to distract myself while my husband was out of town. If you want to see the other stages of putting the party together, check out my posts from the rest of this week!


I saved this post for the end of the week because decorating was ABSOLUTELY my favorite part of this whole party. It managed to occupy the better part of two weeks (which was perfect to keep me busy without My Main Man around).


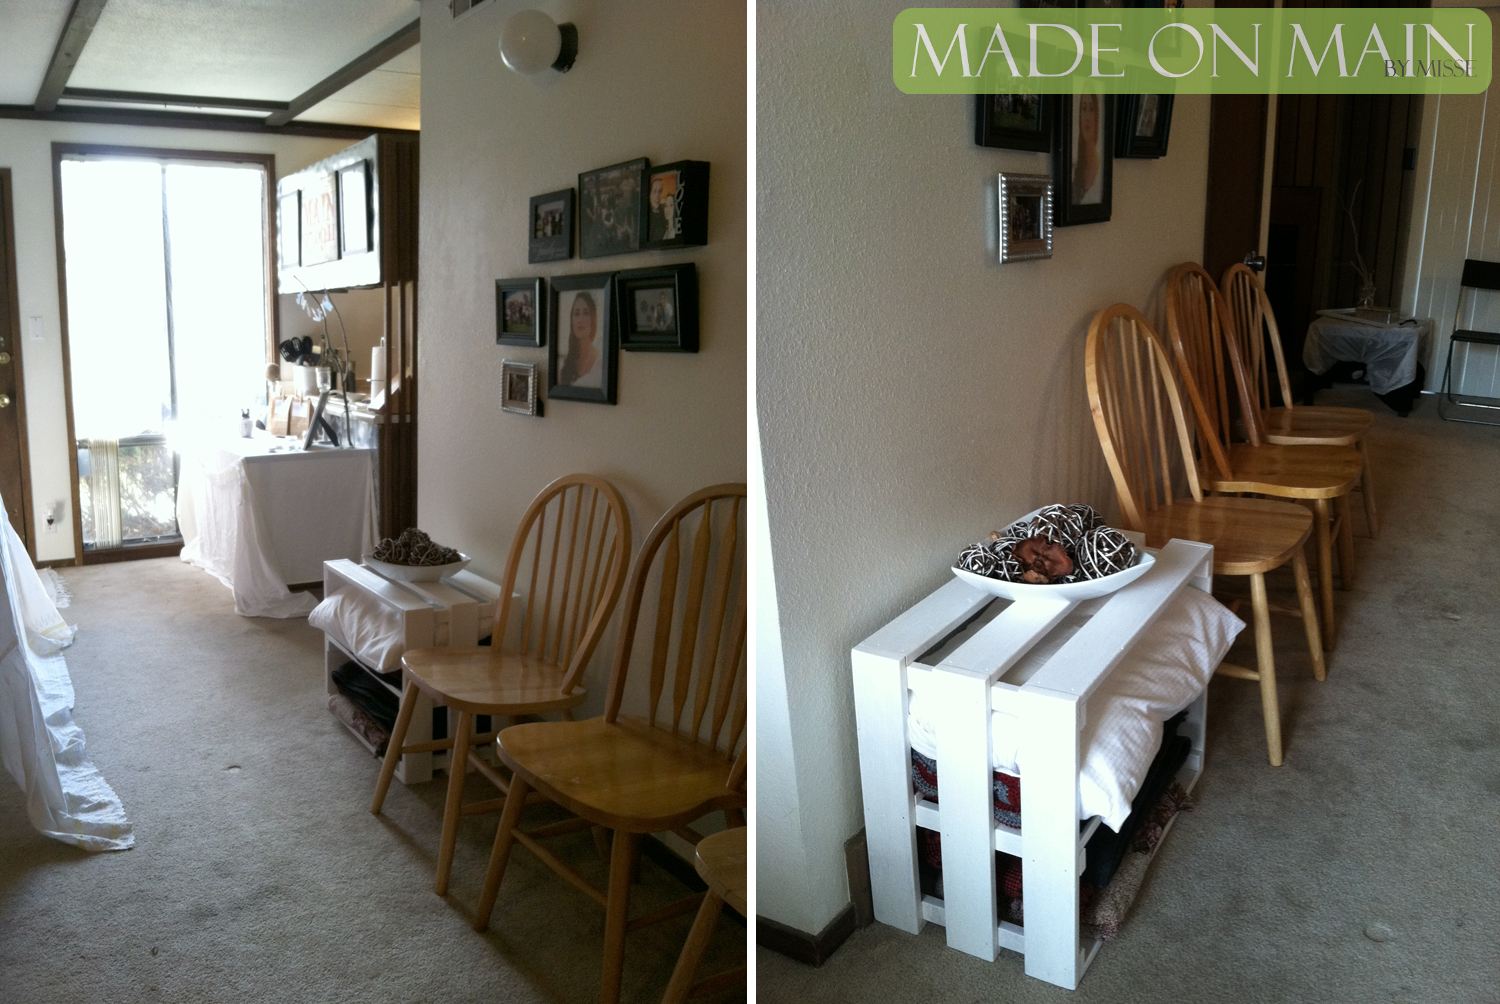
I was holding the party at night, so I thought it would be perfect to play off of that. I wanted to create the illusion of spending a wintery night out under the stars (let's be honest, the stars look so pretty and bright through a clear winter sky). I draped Christmas lights across the downstairs ceiling and only turned on the light at the top of our stairs (I'll explain why in a moment) and, if necessary, the light in the laundry room (since it's around the corner and only provides indirect light). Anywhere else I needed light, I sprinkled tea lights across the various tables. Again, keeping budget in mind, I needed to be creative to find easy candle-holding solutions, so I scoured my house for glass jars. I used a combination of jelly jars, baby food jars, the lids to those jars (painted white), and a metal tin to create a grouping of candle-light.


Flowers get expensive, and this party was winter-themed anyway, so I grouped some funky-shaped sticks as my "arrangements" at each table. Again, the sticks were free and the glass jars came from food I had already eaten, so they were basically free decorations. Remember when I showed you my super cheap candlesticks a few weeks ago? Well they were originally creme-colored, so I painted a few of them white to match the decor and hot-glued glass gars to a couple of them.

While I was putting together my Valentine banner using cheap felt, I also put together two triangular banners with my party colors. One was draped across the living room, and the smaller one was hung in a "U" shape over the food table to create a central focus.


The final piece to my party decorating was a photo booth at the top of the stairs. I tend to be lame at taking pictures during parties, so I thought a fun photo booth would help me document all of my lovely guests. For the backdrop, I draped a grey sheet across the wall and pinned various twine and long jewelry over the sheet. To make it fun, I set up a table with props including winter accessories and a dry-erase sign to write messages.

Check out yesterday's post to find out more about these super cool women. (Cousin-in-Law, Winter, The Rocker, Share-and-Tell, Half-Rich, and more!)
To tie everything together, I used ribbons, twine, and some grey strips as decoration. By keeping to a simple color and material palette, everything tied together well and I was so happy with how my decorations turned out!

This finishes up my week on throwing a winter party. I'm still vacationing, so I may not get right back into the swing of things next week, but I promise I'll be back ASAP!

1.09.2012

Craft Confessions | Super Cheap Wedding Centerpieces

I have an exciting secret to share with you. As of today, January 9th, I have been married for exactly six months! I realize that doesn't seem like much, especially compare to the two years My Main Man and I dated before getting married, but I'm still excited. We've made it through half a year! So in honor of this festive occasion, I decided to walk down memory lane and share a really cheap centerpiece we used for our wedding reception: candlesticks!

Source
I had seen so many cute wedding centerpieces including big flower-balls set on candlesticks, and I had also seen pretty tissue paper poms online, so I decided to combine the two to look like this:

Beautiful pictures courtesy of Shutterchic Photography
How did I do this? Well the tissue paper poms, besides requiring a decent chunk of time from two bridesmaids, MMM, and myself, were actually really easy to make. Check out the Martha Stewart tutorial here. The I cut a few flower arranging dowels in half and hot glued one end to the center of each pom. Then they went into a big box until the wedding.

For the candlesticks, there was no way I was going to bleed out the cash stores try to charge for them, whether glass, wood, metal, or any other material. Instead, I made my way to my local thrift store and bought a really old, rather out-of-style wooden chair for $6 if I remember correctly. I chopped the chair up, separating each curvaceous spindle and chair leg from the body of the chair. I then sandblasted each stick to remove the worn stain (but you could accomplish the same thing with a sanding block and a little more time). I sanded each end of the stick to try and create as level a surface as possible to connect to the top and bottom of the stick later.

From the seat of the chair and a spare piece of wood I cut out two circles for each candlestick, one just slightly larger than the stick diameter (about 1.5" in diameter) and a base at a much larger size, which were anywhere from 2.5" to 4" in diameter.In the the small circles, I drilled a hole slightly larger than the dowels on my tissue paper poms. After giving all the pieces a good sand, I glued them together with wood glue and clamped the pieces together to cure. The next day, I coated each stick in off-white spray paint (to match my wedding colors).


After putting a pom in each candlestick, I had super cheap and awesome centerpieces! Even after our wedding, I've loved using these sticks to brighten up a boring tabletop or corner of a room and I have found lots of ways to use them. Happy Monday friends!

Some more lovely pictures of these centerpieces in action, courtesy of Shutterchic Photography

10.05.2011

Sew Awesome | Simple Placemats

I'm a newlywed, so I've been blessed to have my kitchen stocked to the rafters with every variety of chopper, storage container, and specialty cooker imaginable due to the kindness of many family and friends. In our wedding registry, my husband and I originally listed a simple, yet attractive set of olive green placemats to match the brown and green kitchen towels we had requested. Much to my husband's dismay, I waffled through at least five potential color schemes before deciding we couldn't register for any linens until I was sure what colors I wanted to use for our kitchen and dining room. After an unhealthy amount of blog-surfing, I began a passionate affair with grey and white. My husband wasn't quite on board with the colors, so I had to win him over slowly, one project at a time. (I'm not sure I've really convinced him yet, but he's sweet enough to pretend he doesn't see my plan creeping through our house.) Oh the joy of our forbidden romance!

While coveting the vast array of fabrics at my local fabric store, I came upon this pretty pattern, and immediately sent a picture to my husband. I was thrilled beyond belief when he said he'd be OK with using this fabric to make place-mats. While grey and white aren't necessarily the most exotic combination, I hope to eventually create a few table runners in different colors to add a seasonally-appropriate pop of color to our home. That being said, I'd like to walk you through my quick expedition through the fabric jungle.


SUPPLIES:
2 Yds cotton fabric in fun pattern (you could also opt for one yard each of two complimentary fabrics for reversible mats)
2 Yds Fabric Stabilizer (I used Pellon in 50 or 70- whatever was the cheapest by the yard)
1 Yd Fusible Interfacing (I cheated a little here, you'll see in a second)
Optional-Freezer Paper Stencil(s) and Fabric or Acrylic Paint

YIELD: 6 Rectangular Placemats, 12" x 16". (I decided I wanted this size based on a highly scientific method, as pictured below.)


STEP 1: Cut fabric into 12 rectangles 13" x 17". Cut stabilizer into 6 rectangles 12" x 16". Cut interfacing into 6 rectangles 13" x 17". (As I was cutting my materials at 10 pm, I realized I didn't have enough interfacing, but I didn't fret. The interfacing primarily acts to attach the stabilizer to the cotton, so I cut 12 strips of 2.5" x 17". I'll attach them to the top and bottom of each mat to secure the stabilizer semi-effectively.)


STEP 2: On the back of each of 6 cotton rectangles, center one rectangle of stabilizer, then top with one rectangle of interfacing, shiny side down. According to the package direction for your interfacing, iron the rectangles until there is a good bond between the layers.

STEP 2.5: (So named because of its optional nature): I wanted to monogram my placemats with our last initial, so I turned to the ever-trusty freezer-paper method to accomplish the task. If you've never heard of this before, prepare to have your mind blown. A quick and easy tutorial can be found at I Am Momma, Hear Me Roar. You can really go as crazy as you want, but I found it easiest to apply the monogram to the stabilized side of the mats (so the fabric doesn't do the slip and slide when it gets wet from the paint).

STEP 3: Pin together one stabilized and one naked/non-stabilized side of your mat, right sides together. Since I had a pretty intense linear pattern in my fabric, I wanted to line the mats up as perfectly as possible. The paper lining on the back of the interfacing made an easy surface for me to draw straight lines on to guide the foot of my sewing machine. Leave a 5" gap on one short side of the mat, and sew around the edge of the mat with a 1/2" seam allowance. Peel away the paper backing from the fusible interfacing.


STEP 4: Flip the mat inside-out, making sure to push out each corner into a nice (or almost-nice, as I was frustrated to end up with a few times) 90-degree angle. Press all of the seams, and create a nicely ironed edge where the opening in the mat is.

STEP 5: Beginning on the edge that has a opening, sew a 1/4" (or smaller, depending on your talent and taste) seam around the entire mat, overlapping the ends by an inch to finish the stitch. Depending on the color and busy-ness of your pattern, it might be fun to try an interesting color contrast in your thread choice; I, however, am a stickler for cleanliness and order, so I went with a white stitch.


Admire how put together your table now looks whether naked


or all dolled up.  

We're super fancy in this house, so we obviously set the table like this often.

9.30.2011

Tools of the Trade | Paints

I have a confession when it comes to paint. I use acrylic for everything. I use it to paint wood, clothing, canvas, paper, and almost anything else you might imagine.  The great thing is, it generally works well on every surface I've tried.  However, there are a lot of better paints for various jobs, so let me fill you in.


1 | SPRAY PAINT: Most avid crafters will admit to a passionate affair with spray paints. These paints score fairly high in the awesome department for a few reasons. First, spray paints don't require brushes, meaning less supplies to buy, quick application, and no brush marks on the finished product. Second, spray paints allow you to exponentially up your "thug-ness" as you conquer your inner graffiti artist. (Let's pause for a moment and dream we could all have that kind of mad skill. One day I will.) I'm saddened to encourage this behavior, but for those scared by excessive creativity, spray paint doesn't require mixing or many design choices. On the down side, my fingers hurt for days after any spray paint project, regardless of how I hold the can, and then I get awful drips from the excessive sprays as I rush to finish painting. Spray paint also puts off a lot of fumes so it's best to do in a spray booth.

2 | PAINT PALETTE: For acrylics and watercolors, this is a must. It gives you space to mix custom colors and lets you keep multiple colors right at your fingertips. This one's pretty dirty, but I kind of like it that way; it makes it looks like I'm a really intense artist, right?

3 | WATERCOLOR: Watercolor is a difficult medium, but if you can conquer it you won't be disappointed with the results. When purchasing these, skip the rectangular tray filled with hard paint medallions. We're not in kindergarten anymore. Instead, look for small tubes that allow you much more freedom to mix and get your painting groove on. The tubes may seem small and a waste of money, but remember you'll still be mixing lots of water into the paints so those tiny tubes really go a long way. Generally, you only want to watercolor on paper that is designated for that purpose. Otherwise, your project paper will get all sorts of bumps and lumps and look like an old lady. Save yourself the tears and get the right paper from the start.

4, 5, 6 | ACRYLIC: Like I said, I use it on everything. It's a water-based paint, which means if you catch a spill quickly you can remove it from porous materials (like clothing you didn't mean to paint) and your paintbrushes with water. Depending on your project needs, prices can range from the super-cheap, student quality paint, to more expensive brands for experts. Unless you have a very specific project in mind, I would suggest stocking up on large tubes in a medium quality of red, blue, yellow, black, white, and brown. It may seem intimidating to mix your own colors from there, but once you push yourself you'll unleash a whole new creative animal! If you mess up horribly, wait for the paint to dry and you can begin anew right on top of your first try. Also, don't get too worried over the difference between craft acrylics and artistic acrylics. They essentially all do the same thing, and price-wise it's often a tie between which variety is cheapest.

7 | WOOD STAIN: This isn't technically a paint, but consider using it on your next wood project. Stains allow you to change the appearance of wood while maintaining the intricate detail of natural wood grain and stained woods tend to go well with most decorating schemes. If you do choose this path, be sure to stock up on gloves (if you stain your hands they're staying that way for at least a week), a cheap, disposable paint brush, lots of rags to apply the stain, and consider a mask if fumes tend to bother you. This method also takes time as you should allow the layers of stain to dry between applications.

OIL PAINT: I had the privilege of studying oil paints for a short time under my great-grandma, and the aromatic medley of oils and paint thinner will forever bring me nostalgic happiness. Like watercolors, these paints can be difficult to master, but you will feel like you've reached "the top" if you can conquer oils. Oils do require patience, as they sometimes take several days to dry. This can be a perk, however, as it allows you to constantly mold your colors around one another, much like a sculptor reworks clay every day. Oils look great in finished work, with sculpted edges following your brush strokes and the capacity for amazingly vibrant colors.

FABRIC PAINT: I'm honestly not too fond of these paints. I think acrylics generally accomplish the same thing, and I tend to associate puffy fabric paints with 90's applique sweatshirts. It's not an era of clothing I really want to remember. If you insist on purchasing fabric paints though, I've heard that Tulip offers the best selection of varieties and colors.

There isn't always a "right" paint for every project, so don't be discouraged if you don't know where to start. Explore and struggle a little bit, and you'll ultimately be satisfied with what you've learned along the way, whether your project was a success or a painful memory pushed to the back of your mind. If you'd like some advice before starting a project, leave me a comment and I'll let you know what I think!

9.26.2011

Tools of the Trade | Paintbrushes

Sometimes the difference between being a paint-covered mess and the next up-and-coming artist lies in the brushes you choose.  This difference is especially important as you jump between crafting and creating art pieces.  I won't pretend to be an expert on brushes, but here are my words of advice after years of playing around with various paints.


1 | SPONGE BRUSH: The great thing about these brushes is their cheapness (I found a bag of about 10 brushes at the dollar store) and their ability to soak up excessive amounts of paint.  These brushes are stellar for stencil work, especially on super absorbent surfaces like fabric.  However, Picasso wouldn't be caught dead with a sponge brush.  Don't plan on having a great deal of control or accuracy with these brushes (hence the reason they work well with stencils).

2 | HOME IMPROVEMENT PAINT BRUSH: This is the standard brush you buy at a home improvement store to paint or stain furniture or walls.  When it comes to crafting, I recommend looking for something fairly stiff, about two or three inches wide, and as cheap as possible.  Again, I recently found a package of three of these brushes at the dollar store.  If you want to paint your walls, ignore everything I suggest here.  However, if you want to add a worn look to a piece or create distinguished brush strokes in your project, these brushes are good for "quick and dirty" work.

3 | TOOTHBRUSH: Did I surprise you?  Amazingly enough I've used an old toothbrush just as much in my art works as my crafts.  I use the brush to splash watercolors and watered-down acrylics in a controlled way.  The spread of a good flick is usually a 5" diameter, and it's really easy to aim so you don't end up with messy splatters everywhere.

4 | ART BRUSH (a.k.a. THE REAL DEAL): I could write 100 posts on the multitude of brushes available in this category, but I'll spare your eyes and brain. Most of my projects use acrylic, which I'll praise a bit in a future post, so I stock up on semi stiff brushes in a variety of sizes and shapes.  Flat brushes are best for filling in large areas (my favorite is a 3/4" brush), and I prefer small rounded brushes for detail (I have sizes 3-9 and they all get a bit of use). If watercolor is more your cup-of-tea, I suggest softer brushes that can soak up the watery paints well.

Obviously, lots of paintbrushes exist in the world, and I wish I could try them all, but I simply haven't.  If you have any tips to contribute or questions to elaborate on my suggestions, comment away!